Quickstart
Installation
The installation is thanks to the Python Package Index and pip really simple.:
$ pip install Flask-RST
If you only can use easy_install than use:
$ easy_install Flask-RST
It’s a good idea to install the package into a virtualenv to avoid version conflicts on dependencies.
Hello World in Flask-RST
To begin with we create a directory for our new website.:
$ mkdir hello-world/
Config file
Flask-RST load from his source directory (in our case hello-world/) a config file called config.py. So create a config file with filename config.py and paste into this the following lines.:
SITE_NAME = "My Flask-RST website"
AUTHOR_NAME = "Me"

MODULES = {
    'flaskrst.modules.page': {},
}

STYLESHEETS = [
    '/static/style.css'
]
The keys SITE_NAME and AUTHOR_NAME sould be self-explanatory.
The next key MODULES is interesting. It defines the modules which Flask-RST is loading. In our example there is only the flaskrst.modules.page module loaded and the empty Python dict says that there is no additional config keys for this module.
The last key STYLESHEETS makes possible to set a list of css files which should be included.
First page
Now we should add our first page. Create a file called index.rst and put some restructuredText in it.:
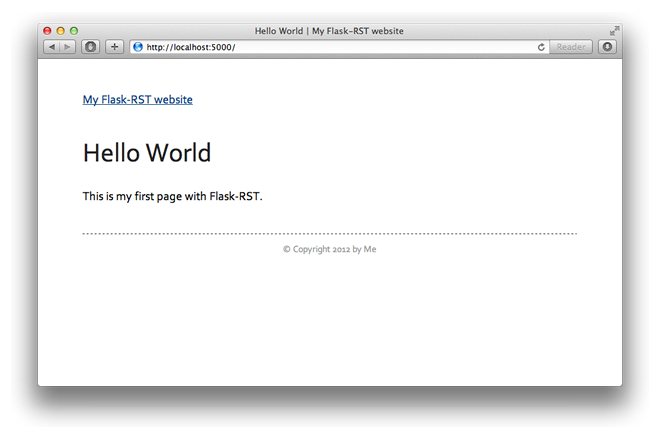
Hello World
===========

This is my first page with Flask-RST.
Run Flask-RST
Let’s start Flask-RST with the flask-rst commandline tool.:
$ flask-rst runserver
* Running on http://127.0.0.1:5000/
* Restarting with reloader
Now you can browse on http://127.0.0.1:5000/ and you will get your first Flask-RST website.